
Vehicle Simulator allows you to add many different types of animals, the program was made to have additional types of animals created as add-ons, and also to have their behavior fully customizable by add-on makers.
Select from the main menu Change Animals to show the animals dialog, or press Shift + A.
On the left side you will see the list of existing animals in the scene, you can add up to 64 animals of any type to the scene.
On the right side you see a list available types of animals, for each one you select you will see a picture and a short description below.
To add animals select the type you want from the right side list and press "Add", to remove animals select the type you want from the left side list and press "Remove".
Each animal is visible once the observer is close enough to it, if for example, you add shallow water fish they will be visible only at shallow water, for each animal there is also a different behavior, for example, sea gulls will not wish to fly at night or in rain and will head off to shelter.
Animals can be also created by users as add-ons, there can be simple animals and also more elaborate ones defined by a dynamic link library.
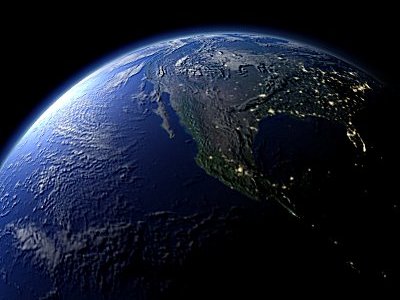
Vehicle Simulator supports a global scenery model, this means that whenever your vehicle is inside any scenery boundary the appropriate scenery is loaded for this area.
Scenery boundary extends in 3D as well, if your vehicle is above 80000 ft scenery is unloaded and the global scenery is loaded instead, global navigation is possible inside and outside of scenery borders, and your coordinates are used to determine your position upon the globe.
You can conduct flights inside or outside of atmosphere up earth orbit, once you enter the atmosphere you can land in any scenery you choose.
Sceneries can be made for smaller area inside a larger scenery
area, when the vehicle enters this area the more detailed scenery is loaded.
To disable this option by turn off "scan scenery" in the graphic options
dialog.
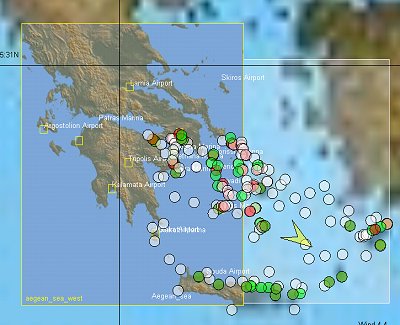
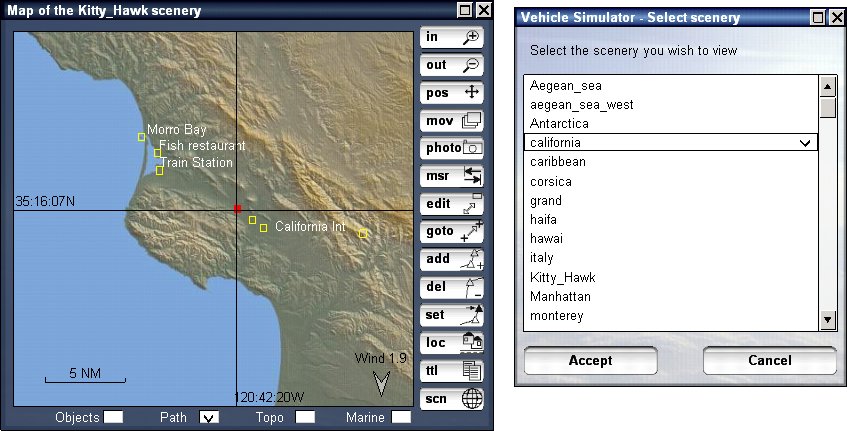
To change your position and your scenery, press Change Scenery from the main menu or press "M" to show the map.

Each of the existing sceneries is shown on the map as a rectangular bright area, and also is seen on the right side list.
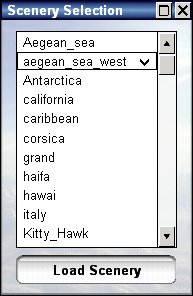
You can add more scenery areas by downloading them from the websites of Vehicle Simulator, or by importing digital topographic maps directly.
To select the area of interest, select them from the map, then zoom in until you see the area on the map clearly, and then press "Move to point", this will move your vehicle into this position and scenery.
When several sceneries overlap for the position you selected, the more detailed area will be loaded.
However you can control this behavior, for the purpose of using the scenery you desire instead of the scenery the program selects automatically, to disable the automatic scenery selection disable the "Scenery Scan" inside the land options dialog.
When scenery scan is turned off, you can manually select the scenery to use, using the Change -> Scenery dialog, this allows you to use multiple scneries defined for the area you are in, for example using the Aegean_sea instead of the "Aegean_sea_west", etc..
The most important tool in Vehicle Simulator is the map, learning to operate the map properly is the key to exploiting the full capacity of the program.
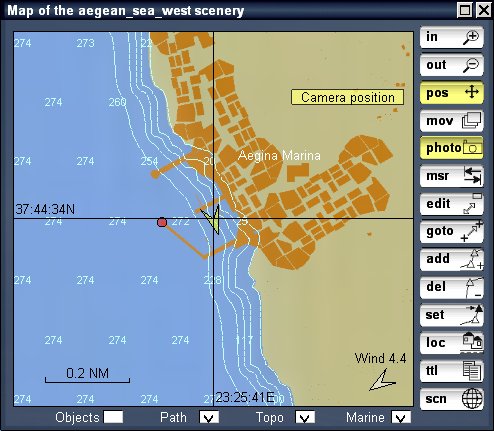
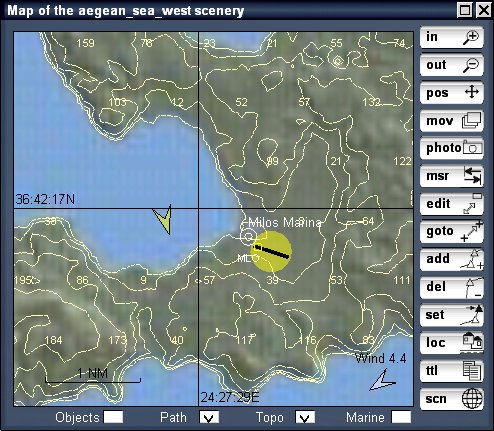
Press M to show the map dialog, the map can be marine or aeronautical map, to select the type of map use the "Marine" option at the bottom of the map.
By default the marine map has topographic lines of sea depth, and the aeronautical map has topographic lines of land elevation data.
To see the distribution of objects upon the map press "Objects", the automatic objects are shown in yellow, the user objects are shown in red.
Zoom out until you see the borders of your scenery, part of
the world map, and other scenery areas.
You can create waypoints between these sceneries and navigate to them.

To move quickly between sceneries press the press the Scn icon on the bottom part of the map, then select the scenery of your choise, then press Accept, you will see the selected scenery appear on the map, but not loaded yet, then select your position using the map cursor, and then press "Goto", this loades the selected scenery and moves your view and vehicle to the selected position.
The top two buttons are used for zooming in and out, to move the map simply click on the map and drag it with your mouse, to center your view press the camera position button.
Vehicles and waypoints can be moved on the map, to do so press the "move selected item" button, pick the object and drag it to the new position, press this button again to exit this mode.
You can also move the camera or your vehicle to a desired location, to do so pick on the desired location on the map and then press the "move to point" button, if you were onboard a vehicle the vehicle is moved, if your camera was free only the camera will be moved.
Press the "measure distance" button and then move your mouse around your position, the distance between you and the selected point as well as the azimuth to it will be shown on the map, once done measuring, press this button again to exit this mode.
Any point you pick in measure mode, is also copied to the clipboard, this is particularly useful when designing a scenery, see more on that below.
In Vehicle Simulator you can have up to 64 waypoints, these waypoints are shared between all vehicles in the scene, however you may assign different waypoints to each vehicle, thus creating different routs for each vehicle.
To add a waypoint pick the desired position on the map and click the "add waypoints" button, to remove a waypoint, select it on the map and click the "delete waypoint" button.
To assign a waypoint as the next waypoint for any vehicle you wish, select the vehicle on the map, select the waypoint on the map and press the "set next waypoint" button.