|
|
Textures in Vehicle Simulator scenery are arranged in layers similar to colors in a topographic map, for each layer there is a set of rules which determine when it is used, these rules are:
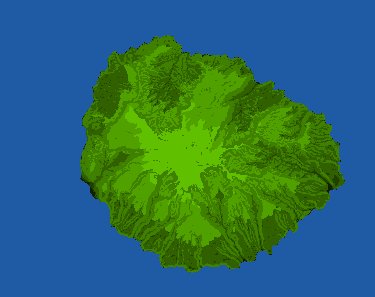
Each elevation point in the scenery is checked by these rules, when the rules are met the point is assigned a texture index. The layers are checked from the lowest index to highest, the first set of rules that checks ok determines the index of texture to be used, further layers are skipped. For example, if we have the first layer between 0 meters and 1000 meters, with slope between 0 and 0.5 radians, and the second layer between 0 meters and 1000 meters with slope between 0 and 5 radians, the second layer will be active for land with high slopes, thus giving the impression of cliffs similar to the image on the left.
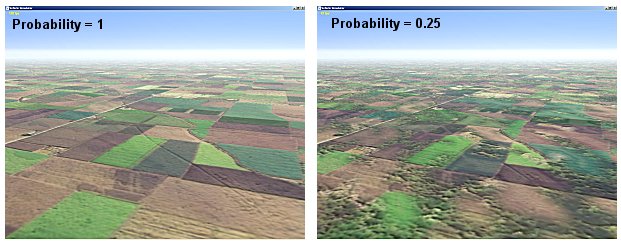
The last rule to be checked is probability, this gives a probability for using this layer even if all other rules for it are met, this enables irregular appearance of ground textures even if the ground is flat.
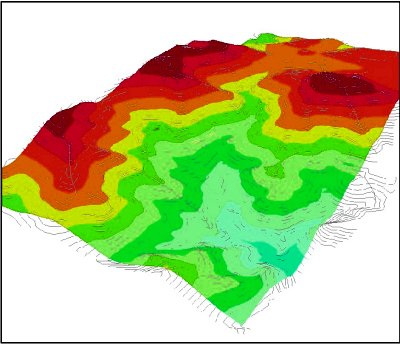
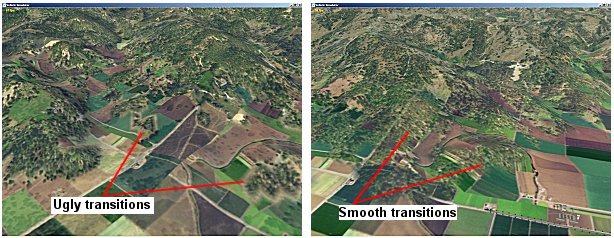
This set of rules is defined inside the file scenery.txt, this file is found in the graphics directory of the program and also inside the directory of the scenery itself, when not found inside the scenery directory the one in the graphics is used. This file also contains vegetation information for each texture layer. It is recommended to use the program itself to edit and save this file, rather than to edit it yourself, to change textures interactively from the program see the scenery basics. Notes about scenery texturesVehicle simulator supports up to 16 layers of texture, with maximum size of 1024x1024, actual size of texture depends on the capability of your video card. Scenery textures are in jpg format, and can be placed in the graphics directory of the program or inside the scenery directory itself. The rules you make for textures should not cause lower texture index to be used after higher texture index is used, this results in ugly transition lines between lower and higher texture indexes, instead design your rules to have lower index first and higher index next. Customizing texturesWhen the scenery is loaded for the first time the set of rules is checked and a texture index is assigned for each elevation point, the result of this calculation is stored inside a simple bitmap called txt.bmp inside the scenery directory. This file has the same width and height as the elevation matrix, and contains pixel values which match the index of the assigned texture for each point of elevation. To make areas of special interest in the scenery you can edit this file using an image editor and set your own pixel values to areas of your choice, this file must be kept in the same format as 256 colors bitmap. The image below shows a typical section of this file.
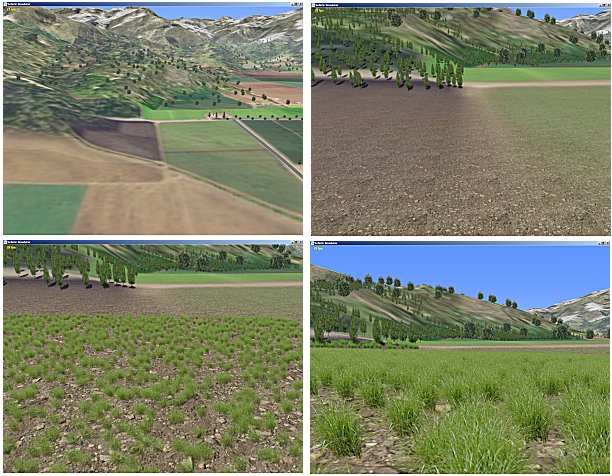
Dense texturesTextures used in Vehicle Simulator scenery are best seen when high above ground, when closer to the ground another set of textures is gradually phased into view, these are called the dense textures, their role is the make the ground appear denser when viewed from a close distance and also to supply ground vegetation coverage.
The dense textures are also jpg files, they have the same name as the selected textures with the prefix of the word "dense_", if no such texture exists the texture called dense.jpg is used instead. These textures are also placed inside the graphics directory of the program and inside the scenery directory itself. By default the program creates the texture map file called txt.bmp after each time you make changes to the textures, or the texture ruls, however on some cases this file may not be deleted, especially if you edit the scenery.txt file manually, in that case you need to delete the file txt.bmp and let the program generate it when it loads the scenery.
|